In today’s fast-paced digital world, compelling product images play a crucial role in grabbing customers’ attention and boosting sales. A powerful technique that can significantly enhance your product photography is the creation of transparent images.
By eliminating background clutter, transparent images allow your products to stand out against a clean, seamless backdrop, creating a visually striking and professional appearance.
This comprehensive guide will teach you everything you need to know about creating transparent images for product photography. From understanding the basics to mastering advanced techniques, you’ll gain step-by-step insights, photo editing tips, and practical strategies to present your products in the most captivating way possible.
Whether you’re an e-commerce business owner, photographer, or marketer, this guide will help you enhance your visual marketing strategies and establish a strong brand identity.
What Are Transparent Images?
Have you ever seen those high-quality product images on e-commerce websites where the product appears to be floating against a pure white or colored background? Those are known as transparent images, and they have become a game-changer in digital marketing and product photography.
A transparent image is an image with its background removed, leaving only the subject visible. This technique enhances the clarity and prominence of the product, making it easier for potential buyers to focus on what matters most—the product itself.
Regardless of the type of business you own, transparent images offer several benefits, including:
1. Enhanced Focus on the Product
By removing the background clutter, transparent images direct customers’ attention solely to the product, making it the focal point of your marketing materials.
2. Versatility Across Platforms
Transparent images can seamlessly blend into different backgrounds, whether for an e-commerce website, social media post, promotional advertisement, or printed marketing material.
3. Professional Aesthetic
Transparent images give your brand a polished and high-quality look, helping build trust with your audience.
4. Easy Customization & Editing
Without a background to worry about, editing and modifying transparent images becomes simpler. You can quickly adjust colors, shadows, and placements to fit various marketing needs.
Step-by-Step Process to Create Transparent Images
Now that you understand the importance of transparent images, let’s dive into the process of creating them.
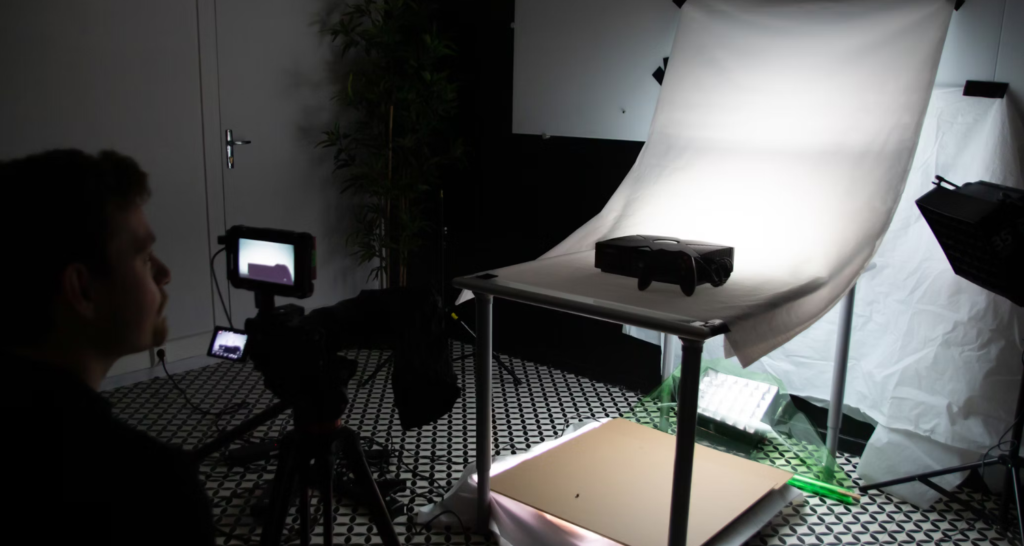
Step 1: Capture High-Quality Product Photos
Begin by taking high-resolution photos of your product against a plain, solid-colored background—preferably white, gray, or light-colored. Ensure that the lighting is even and well-distributed to minimize shadows and reflections.
Use a professional camera or a high-quality smartphone camera, along with a tripod, to achieve the best results.
Step 2: Choose the Right Photo Editing Software
There are numerous photo editing software options available to help create transparent images. Some of the most popular choices include:
- Adobe Photoshop (Industry standard with advanced tools)
- GIMP (Free alternative with similar capabilities)
- Canva Pro (User-friendly for beginners)
- Remove.bg (AI-based automatic background remover)
Step 3: Remove the Background
Once your image is uploaded to the editing software, use the background removal tools to eliminate unwanted elements. Some common tools include:
- Background Eraser Tool
- Magic Wand Tool
- Lasso Tool
Carefully trace around the product’s edges, ensuring precision, especially if your product has intricate details.
Step 4: Refine Edges for a Natural Look
After removing the background, refine the edges to avoid a jagged or uneven appearance. Use tools like:
- Refine Edge Brush (in Photoshop)
- Feathering & Smoothing Techniques
These adjustments will help create a seamless transition between the product and its transparent background.
Step 5: Save the Image in the Right Format
To preserve transparency, save your image in a format that supports transparency, such as:
- PNG (Recommended for quality & compatibility)
- GIF (Supports transparency but lower quality)
- SVG (For vector-based images)
Advanced Techniques for Transparent Images

1. Perfecting Lighting and Shadows
Proper lighting is key to capturing high-quality product images. Use softboxes, reflectors, and multiple light sources to achieve even lighting. Additionally, adding subtle shadows can enhance realism and depth.
2. Managing Reflections and Glossy Surfaces
Products with reflective surfaces, such as glass or metal, require extra attention. To control reflections:
- Use a polarizing filter
- Adjust the angle of the product
- Edit manually to reduce glare
3. Using Transparent Images for Compositing & Mockups
Transparent images allow you to place your products in different backgrounds, making them perfect for mockups and advertising materials. You can:
- Integrate them into digital ads
- Place them in real-world settings
- Use them in promotional graphics
Tools & Resources for Creating Transparent Images
Here are some tools to help streamline the process:
- Remove.bg (AI-based tool for automatic background removal)
- Canva Pro (User-friendly platform for quick edits)
- Fotor (Online editing tool with background removal features)
- Clipdrop (AI-powered tool for professional cutouts)
Final Thoughts: Elevate Your Brand with Transparent Images
Mastering the art of transparent images can significantly enhance your product presentation, making your marketing campaigns more compelling and professional. Whether you’re an online retailer, restaurant owner, or digital marketer, using high-quality transparent images can make your brand stand out.
By following the techniques and tips outlined in this guide, you’ll be able to create stunning product visuals that captivate your audience, boost conversions, and strengthen your brand identity.
Start implementing these strategies today and transform your product photography into a powerful marketing asset!